8 bit sRGB doesn't sound like an optimum way of sharpening, also have to be aware of default settings such as sharpening and noise reduction when opening again.
Couple of points.
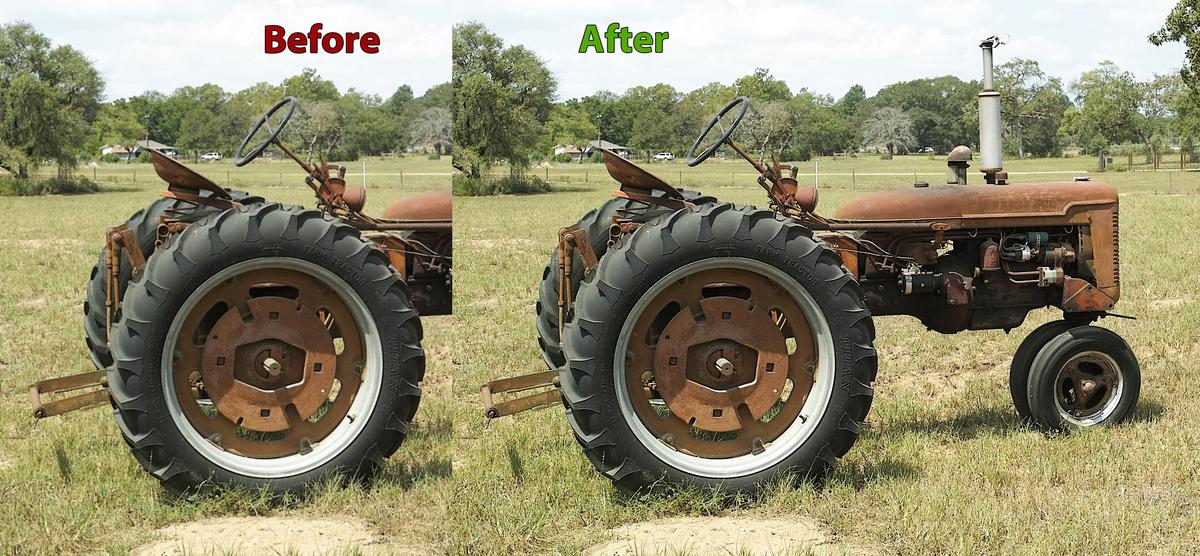
If you view two images in succession with the human eye then your eye will key on on the differences, it will not see either as absolute quantities but it will see the "relative" difference. If you want to see an image then you will have to view it in isolation for at least 30 seconds. I could add a third, hideously over sharpened, example and it would make the second seem softer. For a short while...
Sharpening in images is still an illusion, you don't actually sharpen but instead trick the eye. And like all tricks it doesn't stand close scrutiny, my over sharpened example would fail the 30 second viewing.
And there is the key to sharpening, in those two statements. Actual sharpness and detail come at the point of capture only, in terms of editing sharpness is relative and apparent only. If you want to make something look sharper then you could just as easily contrast it against a softer background, this is essentially how flicking between the two images above works (see below). In images you also have to go with "consistent with memory". We expect high acutance subjects to look sharper, like eyes against softer cheeks, smooth reflections on water, highly polished cars, etc. If you go against this then you kill the illusion, if the eye is slightly softer than the nose then your initial impression is soft no matter how much you sharpen. Get it the other way round and it's instantly much sharper without even touching the USM. Also applying a global USM and equalising the differences can destroy the illusion as a universal level of apparent sharpness is not consistent with our memory, it looks fake.
(combine the foreground of one with the background of the other in a single shot and you create the effect of flicking between the two in a single image, do you think you might even be able to tone the sharpening down a little more and still create the same effect?)
I like this effect, in landscape it can create the closest illusion to actual sunlight.
My preferred method in Ps has always been the High Pass Method. Being on a separate layer it can be masked and so applied locally and with a gradient. Besides, sharpness is not the only quality of images.
Which Coo has the softer and finer coat?
Local High Pass:
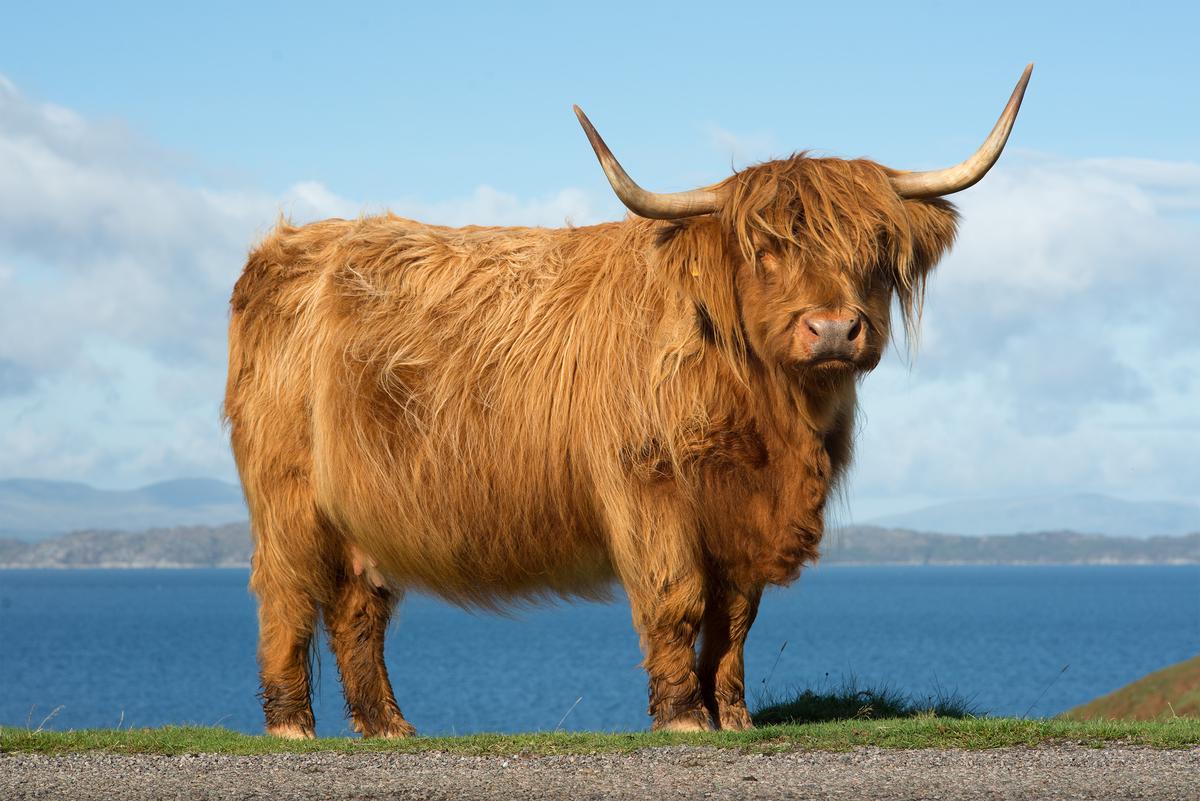
Universal USM: