• tiresiaspanorama_fish_eye
    2 posts
    a year ago

    I'm trying to replicate the colour-only images that Tom Axford posted last year on dpreview in this thread:

    www.dpreview.com/forums/post/66129684

    using Affinity Photo, but not having much success. I have tried converting the colour image to LAB, then making only the L channel editable and visible, then filling the whole area with solid mid grey (RGB 128, 128, 128). When I switch the a and b channels to visible I see something a bit like Tom's results but the image is less distinct and much less vibrant.

    Does anyone know how to do this properly?

    BTW: I tried posting a reply to the thread at dpreview, but for some reason it is not showing up - perhaps the thread was considered too old.
  • simplejoyhelp_outline
    1662 posts
    a year ago
  • tiresiaspanorama_fish_eye
    2 posts
    a year ago

    Thanks. It seems very easy in Affinity. Add an HSL adjustment layer, and in its properties box tick HSV (top left) and drag the Luminosity slider to 100%. :)

  • TomAxfordpanorama_fish_eye
    561 posts
    a year ago

    Yes, that sounds right. In HSV, the V channel is defined as V = max(R, G, B), so making V = 100% means that at least one of R, G and B is 100%, which is the maximum luminosity possible for that colour without clipping one of the colour channels.

    The problem with using HSL or LAB is that raising luminosity to 100% can lead to clipping of one or more colour channels, which inadvertently reduces the colour saturation and possibly changes the hue also.

  • 1737 posts
    a year ago

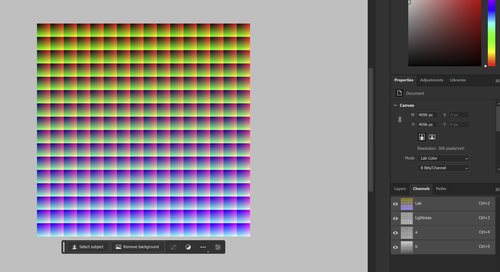
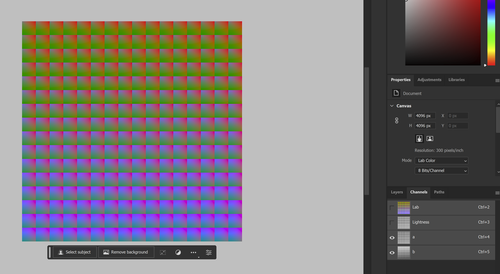
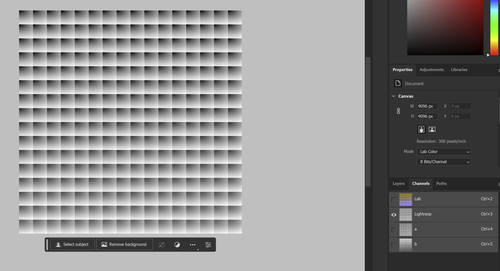
    I don't use Affinity Photo, but in Ps, you just convert to Lab and turn the layers on and off.

    Screenshot 2023-08-20 110402.png


    Screenshot 2023-08-20 110304.png

    Screenshot 2023-08-20 110325.png

    Screenshot 2023-08-20 110402.png

    PNG, 2.0 MB, uploaded by JimKasson a year ago.

    Screenshot 2023-08-20 110304.png

    PNG, 890.3 KB, uploaded by JimKasson a year ago.

    Screenshot 2023-08-20 110325.png

    PNG, 2.3 MB, uploaded by JimKasson a year ago.

  • DeletedRemoved user
    a year ago

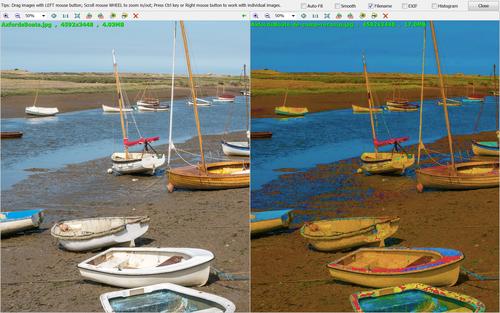
    The GIMP has 'decompose' and 'recompose' options and any space can be selected. Here's a trip to HSV and back with S set to 50% and V turned down a bit in Curves:

    AxfordsBoats-de-comp-recomp.jpg


    Adjusting the Saturation and Value affected the whites big-time!

    AxfordsBoats-de-comp-recomp.jpg

    JPG, 2.0 MB, uploaded by xpatUSA a year ago.

  • DeletedRemoved user
    a year ago

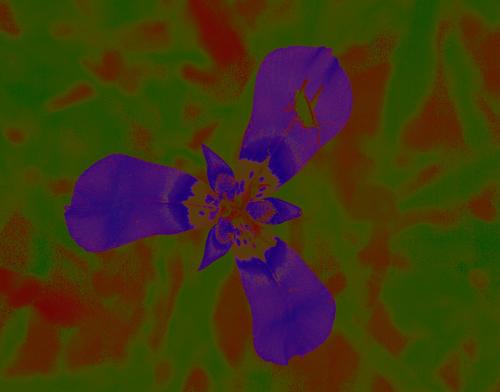
    If your only interest is in the hues, there's an app called Show Image which will show all them all in living color at 100% saturation:

    kronometric.org/phot/color/ShowImage.exe

    Still runs on my Win 7 computer, don't know about later - or Mac for that matter.

  • TomAxfordpanorama_fish_eye
    561 posts
    a year ago

    Yes, that is bound to be the case. Pure whites and neutral greys have 0% saturation, so when the saturation is set to 50%, the only way to do that is to turn it into some arbitrary colour. If the colour is just off-white, setting the saturation to 50% exaggerates the colour hugely.

    In JPEG images, most "whites" will actually be very slightly off-white because of JPEG compression errors and these errors will be hugely exaggerated when the saturation is increased to 50%.

    Errors of this sort can be substantially reduced by using 16-bit TIFF images instead of JPEGs.

  • simplejoyhelp_outline
    1662 posts
    a year ago

    Thanks, that‘s very interesting! Is it possible to reduce the amount of one of those layers/channels (L,a,b) or create a copy of how the image looks when L is deactivated for example?

  • DeletedRemoved user
    a year ago

    No doubt.

    Currently, I am using 32-bit floating point Linear in the GIMP. To get a pure Hue Map, I decompose to HSV; fill S and V with some shade of gray; then recompose.

    ... the result is not for the faint-hearted!

  • 1737 posts
    a year ago

    Sure. Edit one or more of the channels.

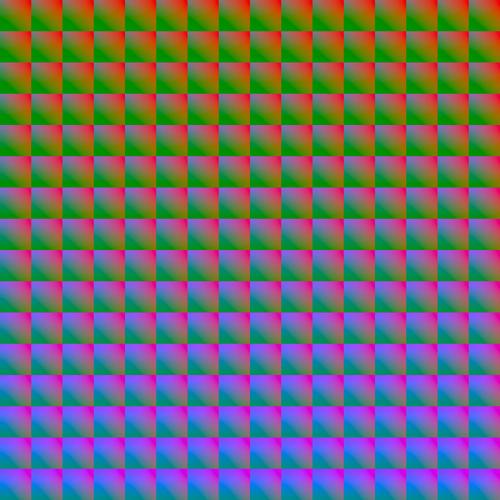
    With L* set to 50:

    RGB16Million.jpg

    RGB16Million.jpg

    JPG, 1.3 MB, uploaded by JimKasson a year ago.

  • simplejoyhelp_outline
    1662 posts
    a year ago

    Thanks - I've no idea how to do that though... I can't change opacity/visibility of channels.

  • 1737 posts
    a year ago

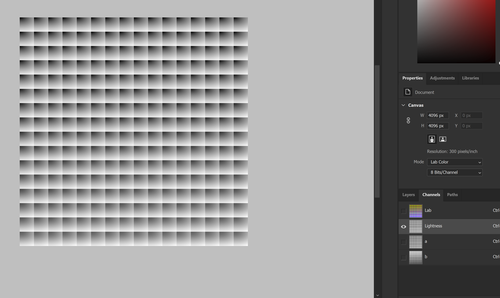
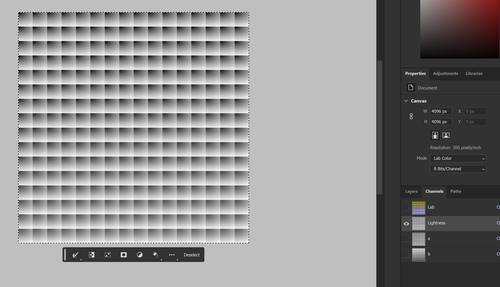
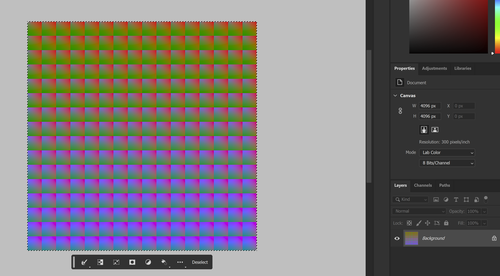
    Select the L* channel.

    Screenshot 2023-08-21 103719.png

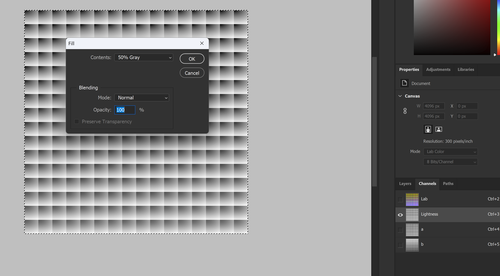
    Select All:

    Screenshot 2023-08-21 103800.png

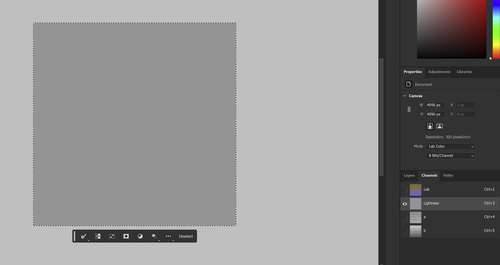
    Fill with 50% gray:

    Screenshot 2023-08-21 103823.png

    Screenshot 2023-08-21 103904.png

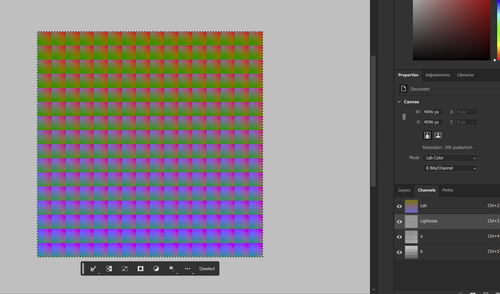
    Turn on all channels:

    Screenshot 2023-08-21 104014.png

    Go to layers to check your work:

    Screenshot 2023-08-21 104051.png

    Screenshot 2023-08-21 104051.png

    PNG, 2.0 MB, uploaded by JimKasson a year ago.

    Screenshot 2023-08-21 104014.png

    PNG, 2.0 MB, uploaded by JimKasson a year ago.

    Screenshot 2023-08-21 103904.png

    PNG, 162.5 KB, uploaded by JimKasson a year ago.

    Screenshot 2023-08-21 103823.png

    PNG, 732.7 KB, uploaded by JimKasson a year ago.

    Screenshot 2023-08-21 103800.png

    PNG, 887.1 KB, uploaded by JimKasson a year ago.

    Screenshot 2023-08-21 103719.png

    PNG, 878.9 KB, uploaded by JimKasson a year ago.

  • simplejoyhelp_outline
    1662 posts
    a year ago

    Thanks a lot - I‘ll try that!

  • DeletedRemoved user
    a year ago

    I'm thinking that extracting the hues-only in the GIMP and then partially merging the result (adjust opacity) with the original could be interesting.

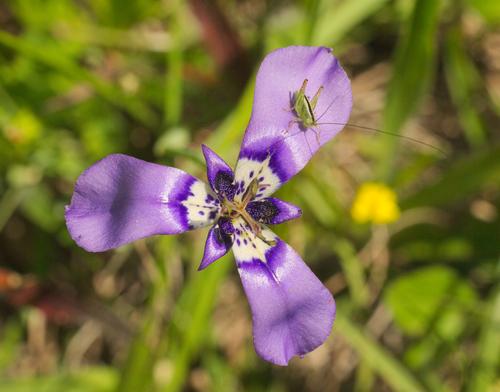
    Original:

    trinidad2.jpg

    Hues:

    trinidad2-HSV.jpg

    trinidad2-HSV-opacity.jpg

    Observe the shadow colors ...

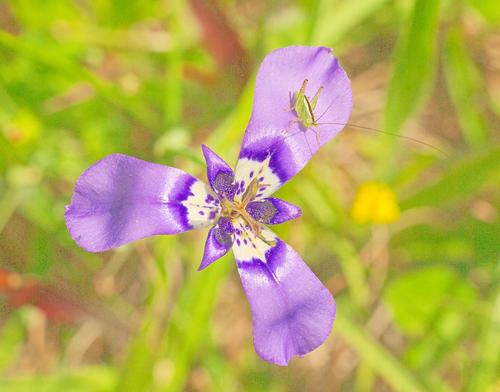
    Flower is herbertia lahue

    trinidad2-HSV-opacity.jpg

    JPG, 878.0 KB, uploaded by xpatUSA a year ago.

    trinidad2-HSV.jpg

    JPG, 845.5 KB, uploaded by xpatUSA a year ago.

    trinidad2.jpg

    JPG, 598.4 KB, uploaded by xpatUSA a year ago.

  • TomAxfordpanorama_fish_eye
    561 posts
    a year ago

    Yes, there are many interesting possibilities.

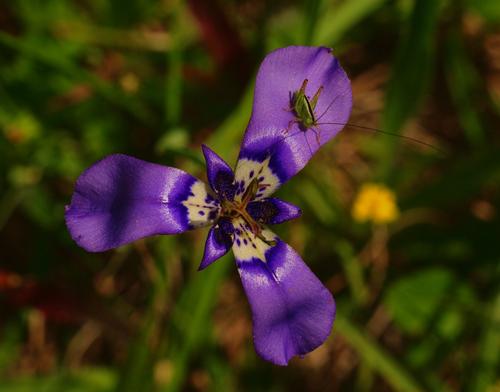
    Here's another one I quite like:

    trinidad2-1.jpg


    (done by creating a duplicate layer of mode "HSV Value", then raising the black point in that layer and using Unsharp Mask a couple of times to bring out the detail)

    trinidad2-1.jpg

    JPG, 678.0 KB, uploaded by TomAxford a year ago.